We are very happy to announce free unlimited cloud backup via IncoCloud
What this means is that all your business data can now be safely stored in IncoCloud so you don’t have to worry about ever loosing it. If your hard drive fails or a malware attacks your computer and deletes files, or if some ransomware encrypts your data you don’t have to worry any more. All your sales, purchases, inventory, invoices and debt are safely recorded up to the last minute in your personal backup.
To let you do that we are removing the data limits for all our cloud tiers starting today. Now all the restrictions about maximum number of items, operations per month and total number of operations that you can backup become unlimited.
To enable backup in IncoPOS follow these simple steps:
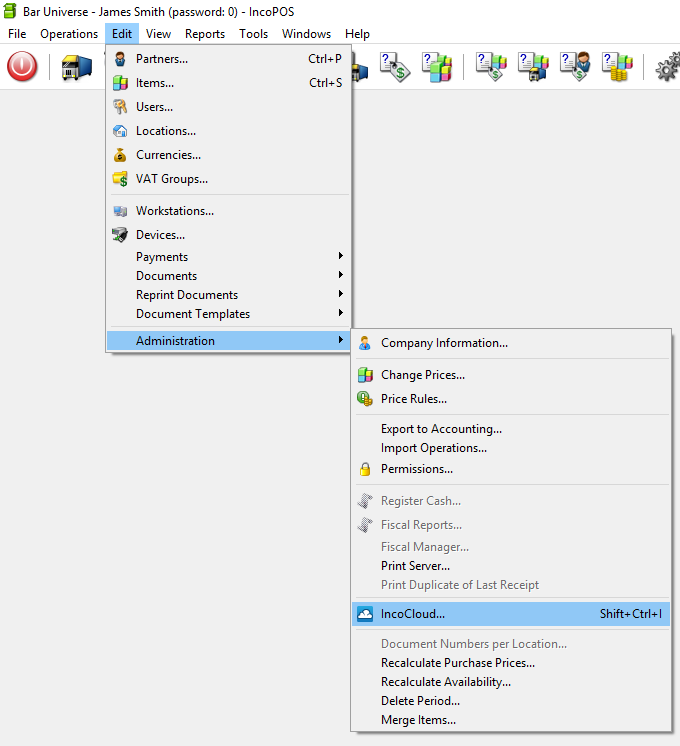
- Go to Edit->Administration->IncoCloud…
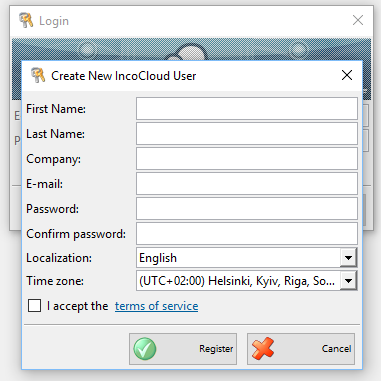
- Create a new account or login with your current one If you already have an IncoCloud account then just skip to the next step. If not then press Create new account, fill in your details and press Register. You will receive an email with a confirmation link which you should click to confirm your registration.
- Add your database to IncoCloud Login with your email and your password and press the Add this database button. Enter the name of the IncoCloud group and the name of the database or leave it as suggested and press OK. You can later change these names if needed.

- After a few seconds of preparation your database will start uploading to the cloud. You don’t need to stop working as the backup is always running in the background and will automatically resume if there are interruptions in the internet connectivity. You can close the window and check the indicator in the lower right corner of the status bar which will show you the progress while your database is being backed up. When the backup completes it will show the status Connected.
To restore your data in case of an emergency open IncoPOS and follow these steps:
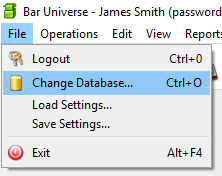
- Go to File->Change database…
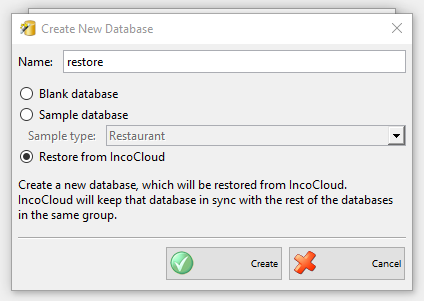
- Create a new database Choose Create to create a new database and in the new screen choose a name for the new database and Restore from IncoCloud
- Remove your old database If you don’t have an IncoCloud license you will see this message:
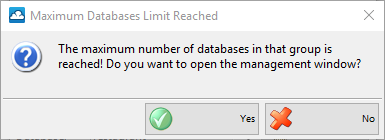
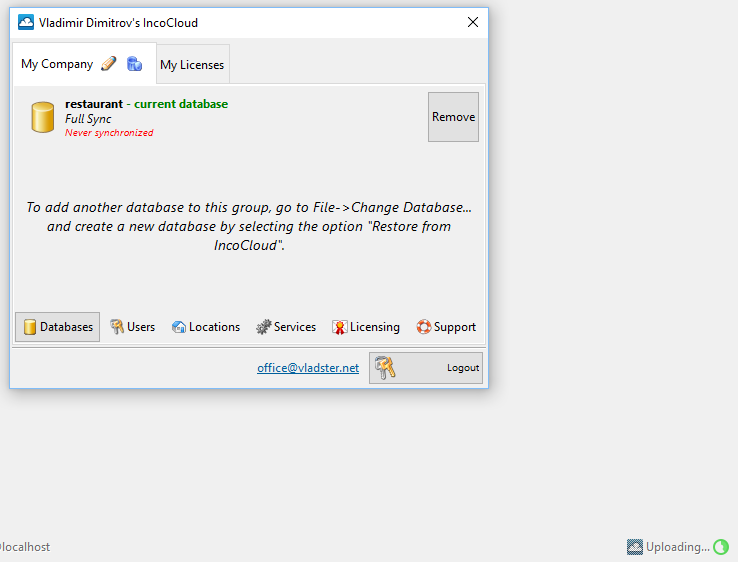
Don’t worry this is because the free license allows you to connect a single database to the cloud and by restoring the database you are about to add a second one. Press Yes to open the management window. In the new window you need to remove your old database by pressing the Remove button.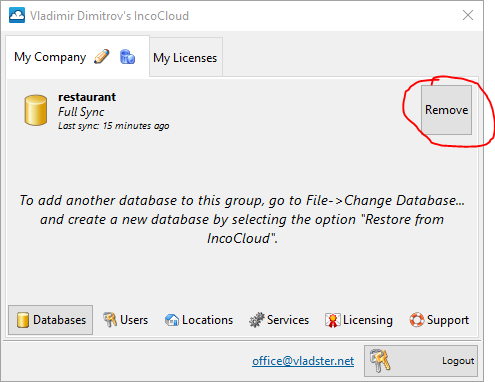
In the new dialog confirm that you want to remove the database from the cloud by pressing Yes.
Warning! In the next dialog you will be asked if you want to remove the group. Make sure you answer No to that question. The IncoCloud group holds your information in IncoCloud and by preserving it your information stays in IncoCloud and can be downloaded. Inf you press Yes then your backup and all your information will be deleted from IncoCloud.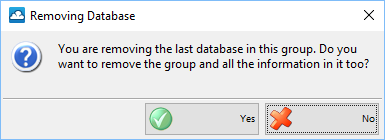
Now you can close the IncoCloud management dialog by pressing the X button and the restore will start.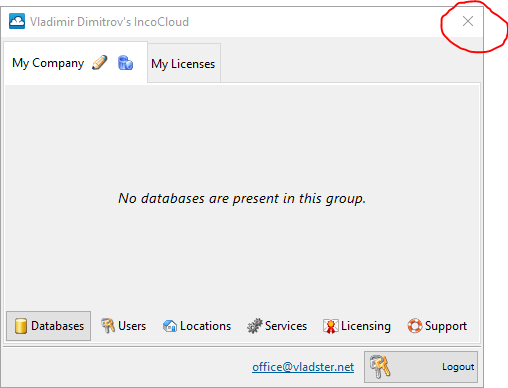
- Finish the restore operation The restore operation will start and you will be able to login into the system immediately. Make sure you are not making any changes before the restore completes. Depending on the size of your database the restore may take a while to complete, but you can always check the status in the lower right corner. While the database is being downloaded you will see how all your data starts to appear in the edit dialogs and the reports.